If you’re cutting fabric with dull scissors on your kitchen table… buddy, we need to talk.
Your rotary cutter and cutting mat are the foundation of your sewing success, especially if you’re quilting, batch cutting garments, or simply trying to keep your sanity. But with so many options out there (ergonomic this, self-healing that), it can feel like picking out a new mattress: expensive, intimidating, and a little dramatic.
Let’s break it down.
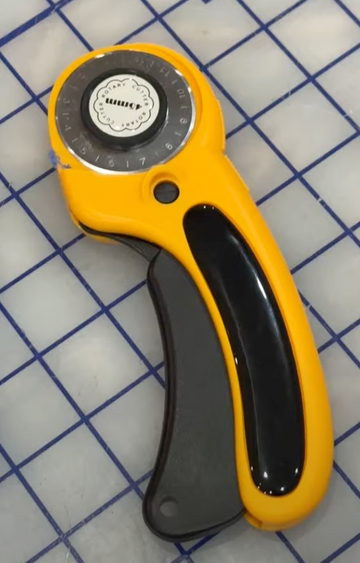
✂️ First, What Even Is a Rotary Cutter?
It’s a pizza cutter for fabric.
Only it slices through multiple layers, doesn’t shift your fabric around, and gives you crisp lines every time. The secret? A razor-sharp circular blade that glides rather than snips.
But not all rotary cutters are created equal. Here’s what to look for:
✅ What to Look for in a Rotary Cutter
1. Handle Style:
-
Straight Handle – great for flat, simple cuts. Less hand support.
-
Ergonomic Handle – better for long sessions, arthritis, or wrist fatigue. Bonus points for ambidextrous handles.
2. Blade Size:
-
28mm – ideal for curves and small cuts.
-
45mm – your everyday workhorse. Great for everything. THIS IS MY PERSONAL FAV!
-
60mm – power cutter for thick layers, batting, or multiple cuts at once.
3. Safety Features:
-
Spring-loaded blades that retract automatically are worth every penny (and every saved fingertip).
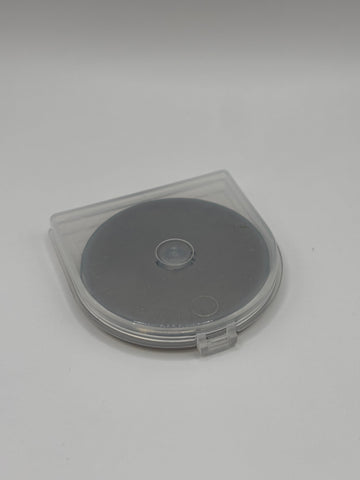
4. Replacement Blades:
-
Check if the cutter brand uses standard blades—like ours—so you’re not locked into overpriced refills or weird shapes.
🟩 What About Cutting Mats?
If your mat is warped, cracked, or curling like a cheap frozen pizza (can you tell I love pizza?)… it’s time for a new one.
1. Size Matters:
Get the biggest mat your space can handle. At minimum, 18"x24" lets you cut most patterns without rearranging every two seconds. 24"x36" is ideal for quilting and serious garment sewists. Personally, I have a 4 by 6 FOOT LONG! It's amazing and I store it under the bed or up against a wall.
2. Self-Healing Magic:
Yes, it’s real. These mats "close up" after a cut, extending their life. They still need proper care (no ironing on them!), but they’re miles better than the brittle alternatives.
3. Grid or No Grid?
Grids can help you align and measure, but if you prefer free-form cutting or already have a ruler system, a plain mat may feel less cluttered. I'm a big fan of the grid, personally, because it means I don't always have to pull out my ruler for things I eyeball (like straps).
4. Color Choice:
Choose a mat that contrasts with your fabrics and blades. If you use lots of light fabrics, a darker mat (like green or gray) will help you see your edges clearly. I didn't think of this when I got my mat, but my eyeballs wish I had.
🧼 Quick Care Tips
-
Don’t leave your mat in the sun or hot car—it warps faster than a polyester prom dress in July.
-
Store flat. Always. Under a bed, leaning up against a wall, behind bookcases, etc.
-
Clean gently with warm water and a soft cloth. (Yes, they need an occasional spa day. Yes, this is a reminder to myself)
💡 Hot Tip from a Fellow Fabric Addict
Change your rotary blade more often than you think. A fresh blade is faster, safer, and more accurate. If you're pressing harder than you should, your blade’s begging for retirement.
Psst: Our Precision Rotary Blades subscription has exactly what you need—and they fit most major rotary cutter brands. 👇
👉 Shop the subscription and keep your cuts smooth all summer long.
🧵 Final Cut
Invest in a rotary cutter and mat that actually supports your craft. You don’t need the fanciest setup (I literally pull my mat out and cut on the floor), but you do need tools that work as hard as you do. When your foundation is solid, every project gets a little easier (and a lot more fun).
Happy cutting,
-E